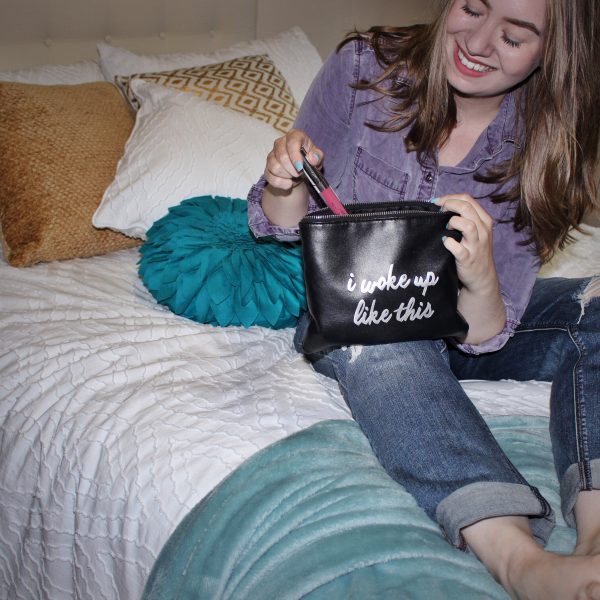
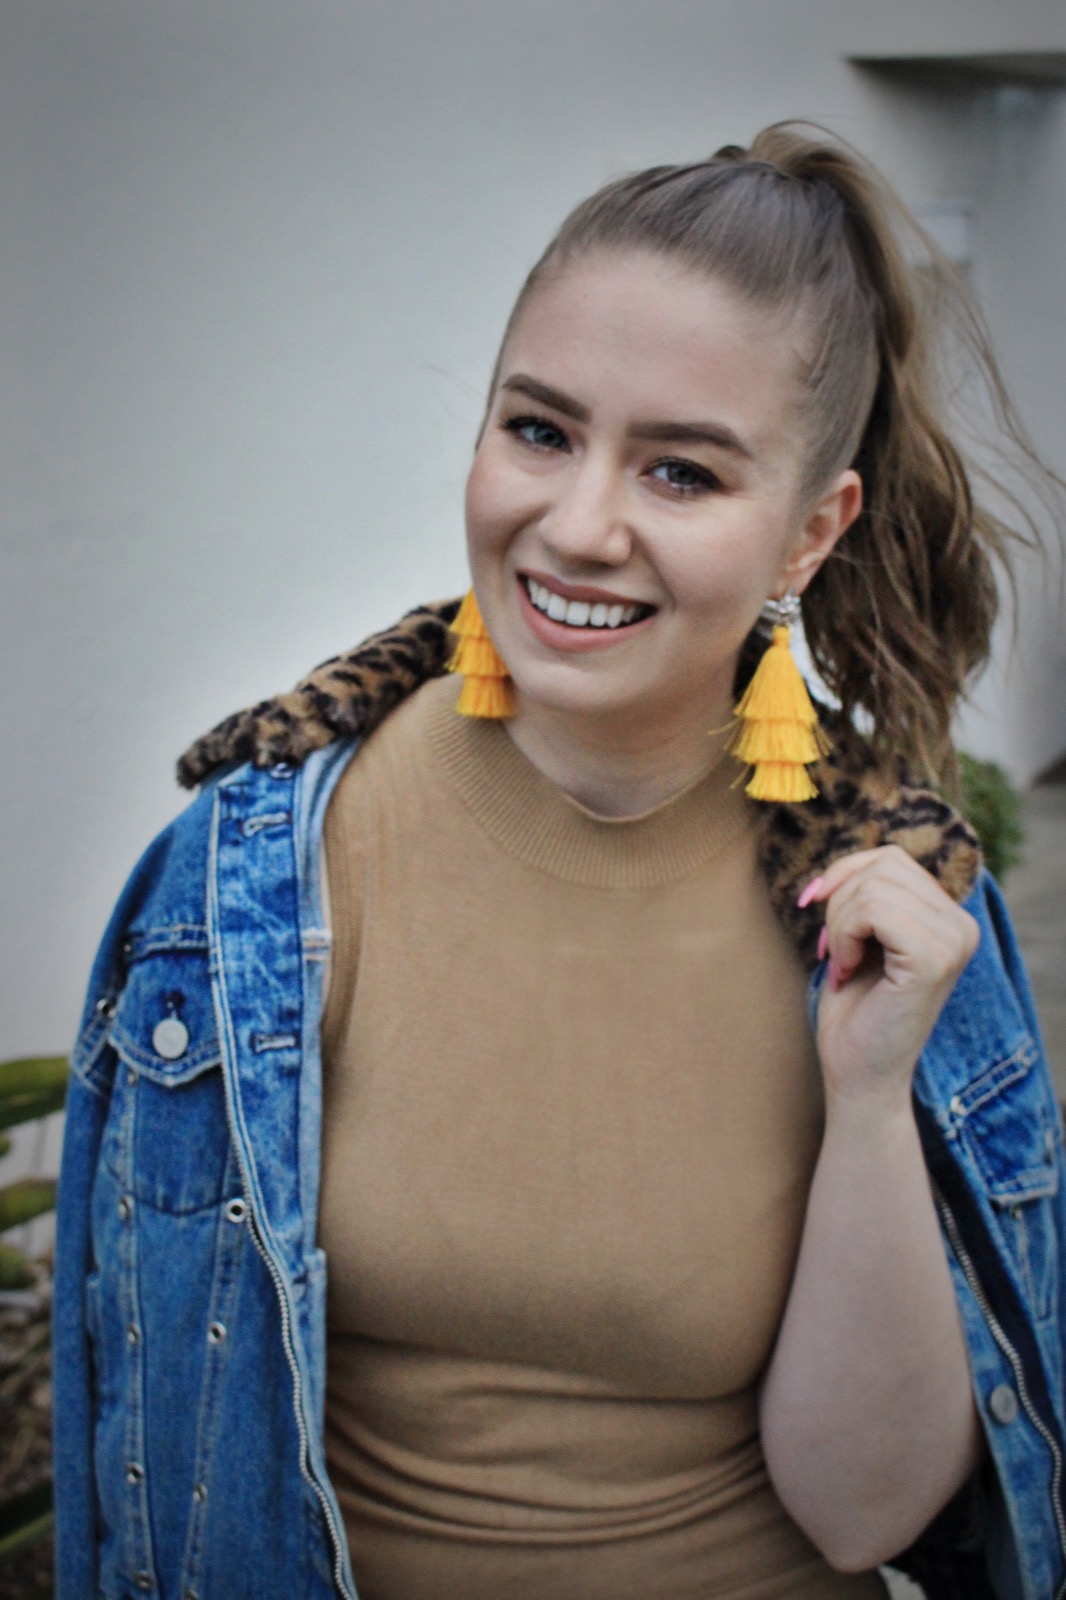
Makeup has been a love and (admittedly) an obsession of mine for 7 years and while I’ve gone through phases of dramatic, full-on glam looks over the years, lately, I’ve just been feeling an easier, more low maintenance kind of look. Maybe it’s because my schedule seems to get busier and busier every month or maybe it’s because I actually really like my face! No matter the reason I will say, being able to get this routine down to 10 minutes has been a serious lifesaver. I love walking out the door feeling pulled together and happy with the way I look, but I also don’t need to contour at 7 am, ya know? Not that there’s anything wrong with a full face of makeup and I still love to bust out my glitter eyeshadow and red lipstick from time to time as well. If that’s what you’re into, live your life girl! For those of you who are looking for some great products that will make getting ready in the morning faster, more fun and overall just a more pleasant experience, then check out my 10-minute makeup routine below! You can shop all of the products I use and a few other budget-friendly options at the end of the post!
*This post contains affiliate links

THE FACE
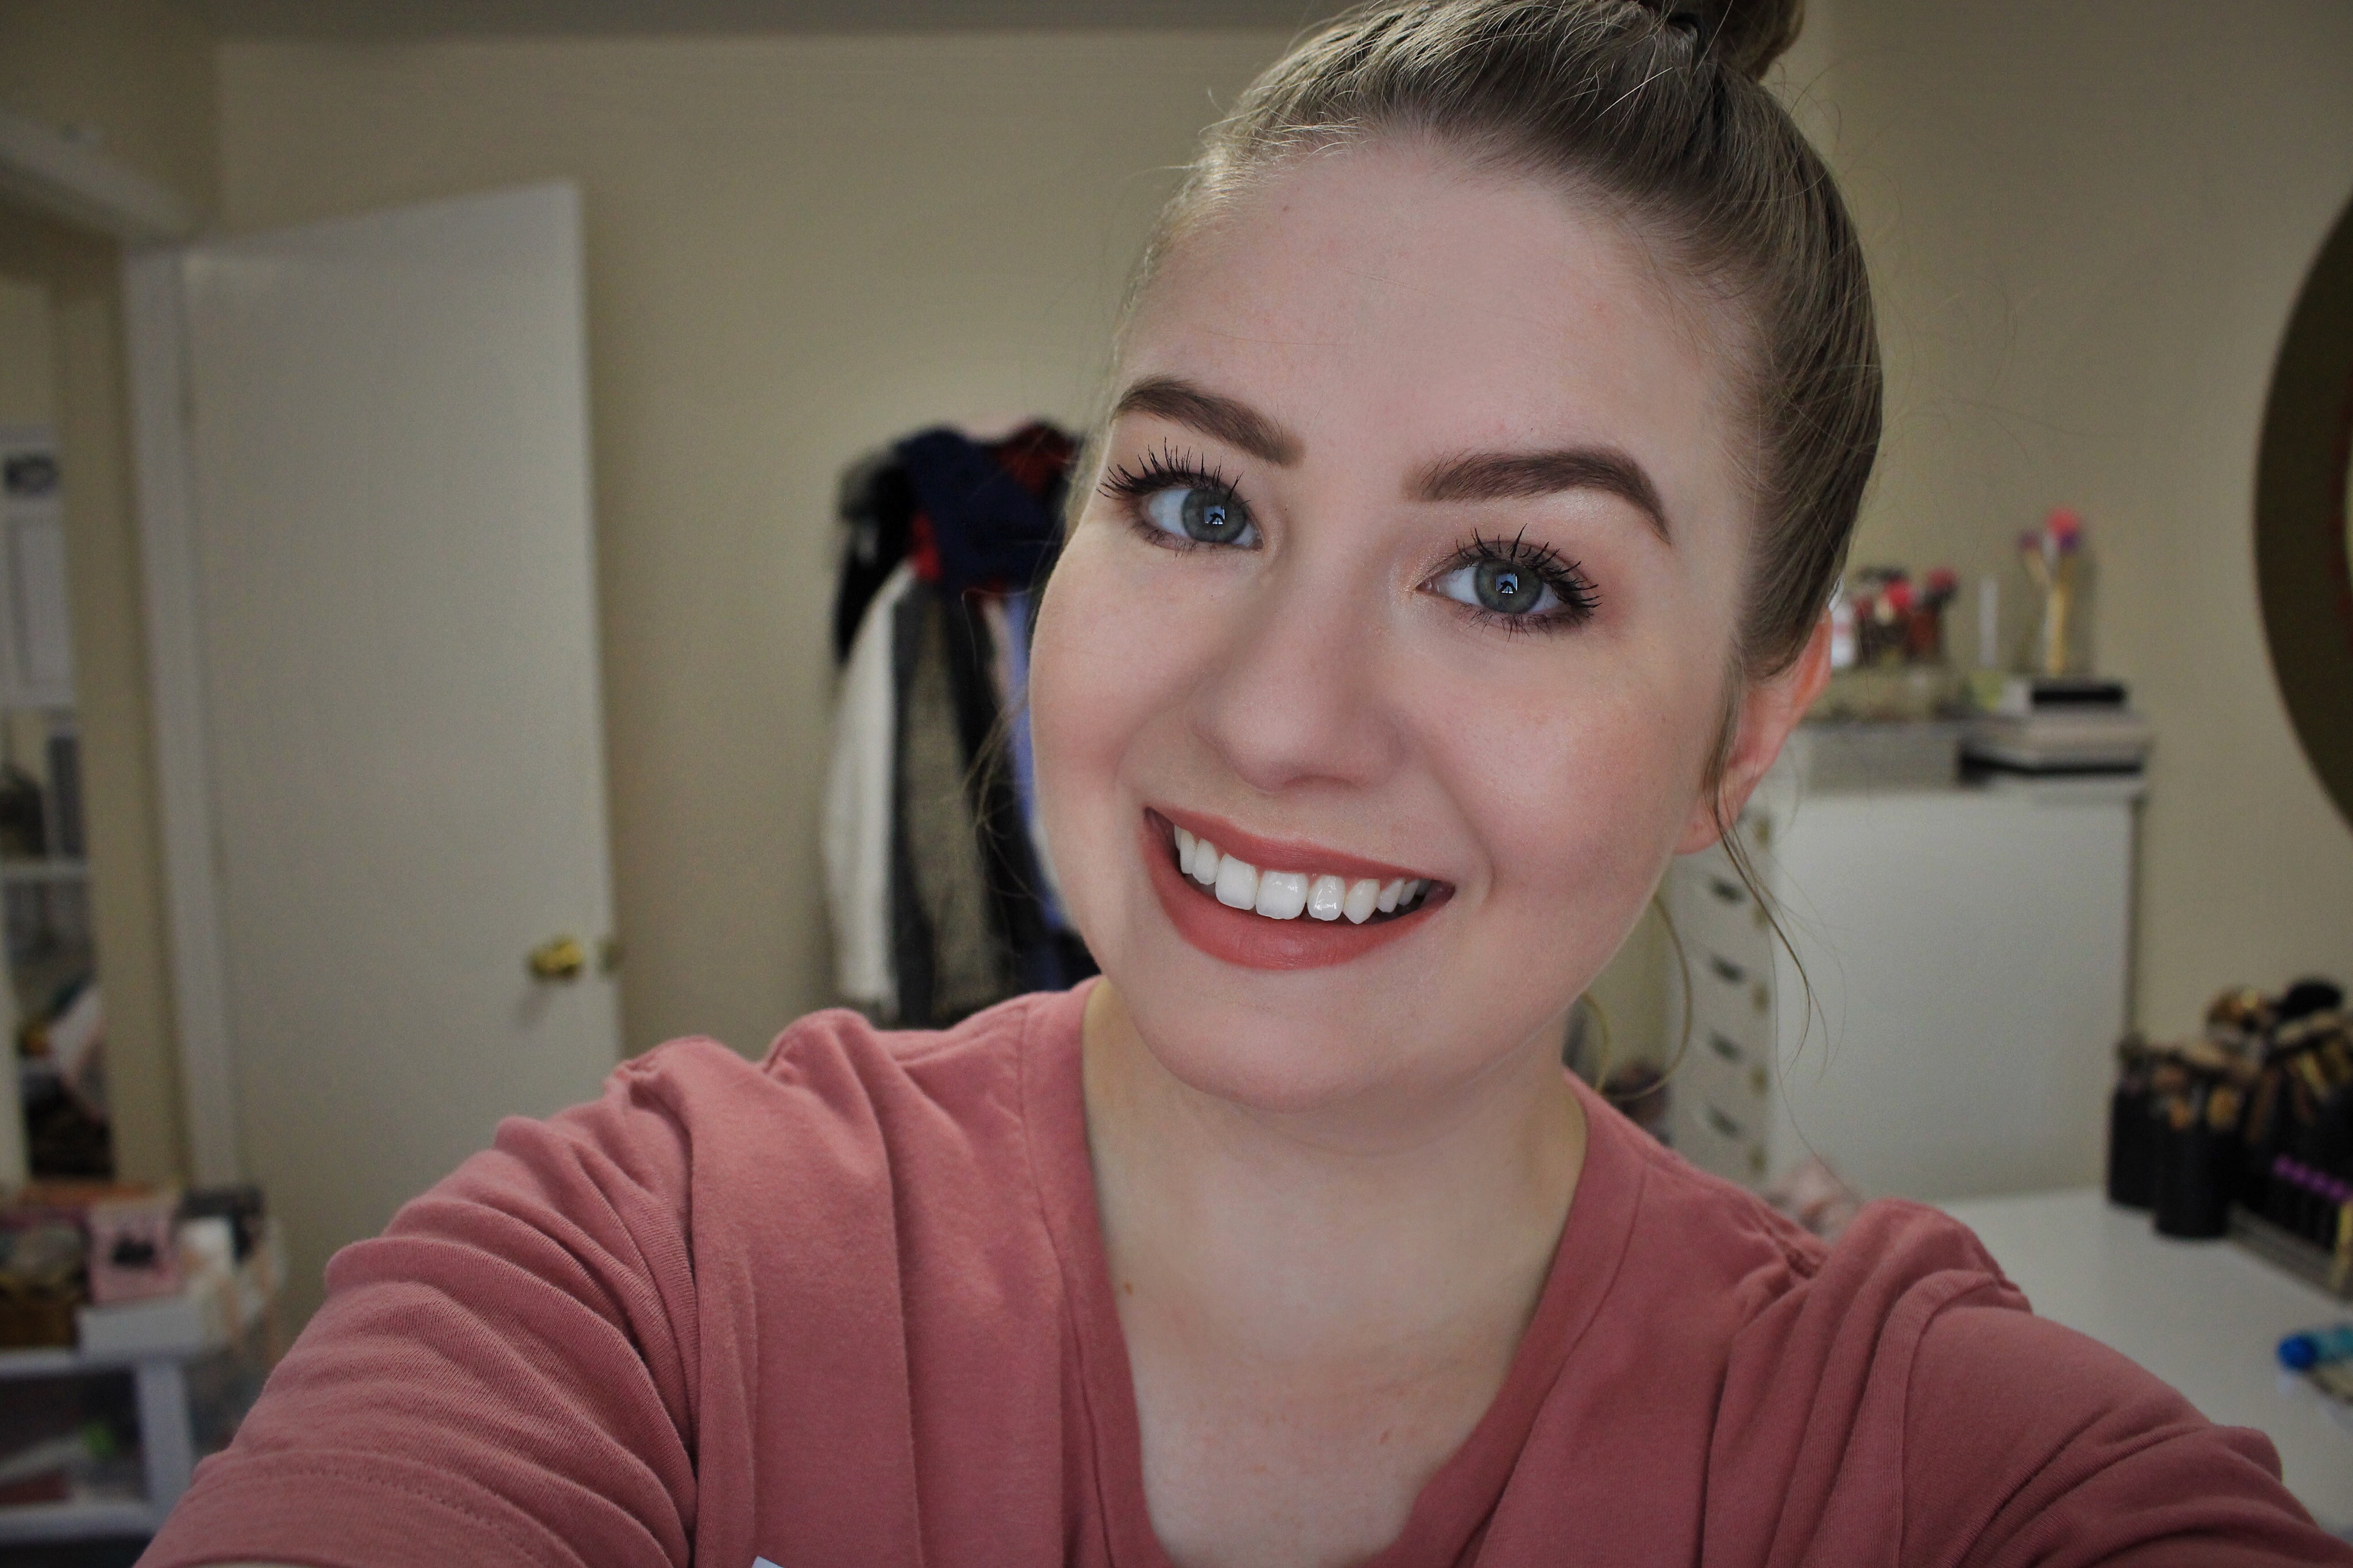
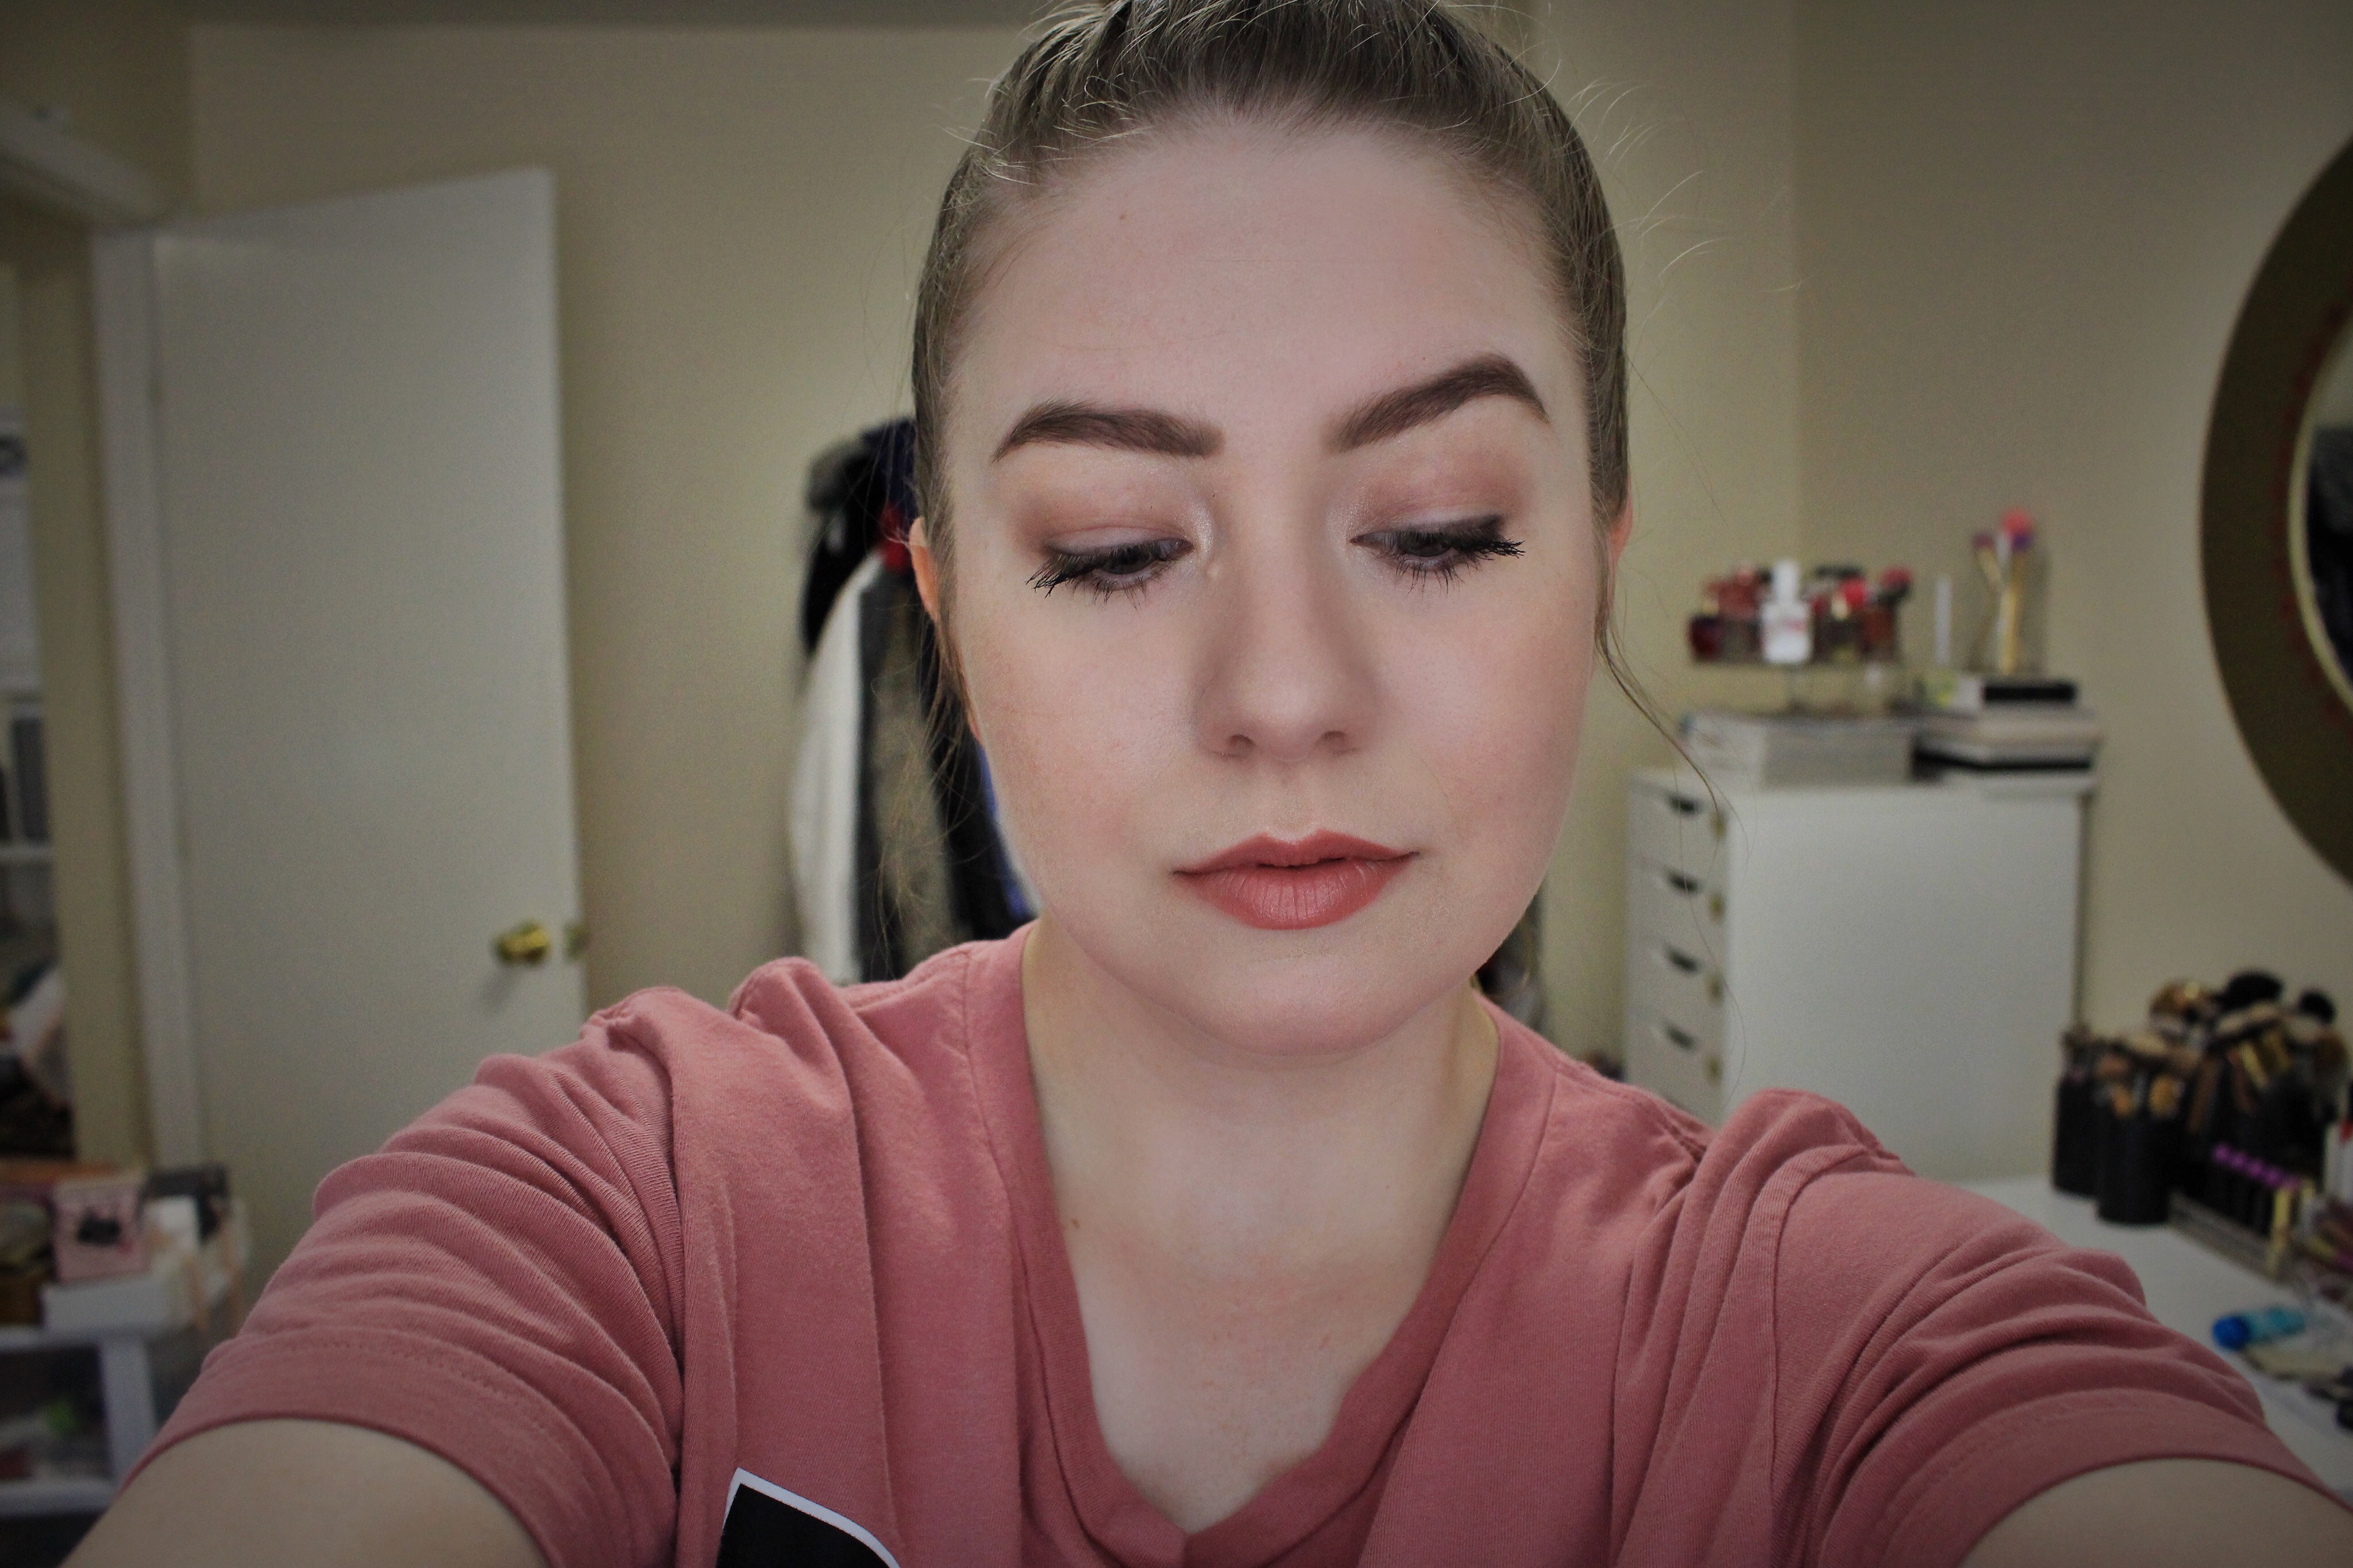
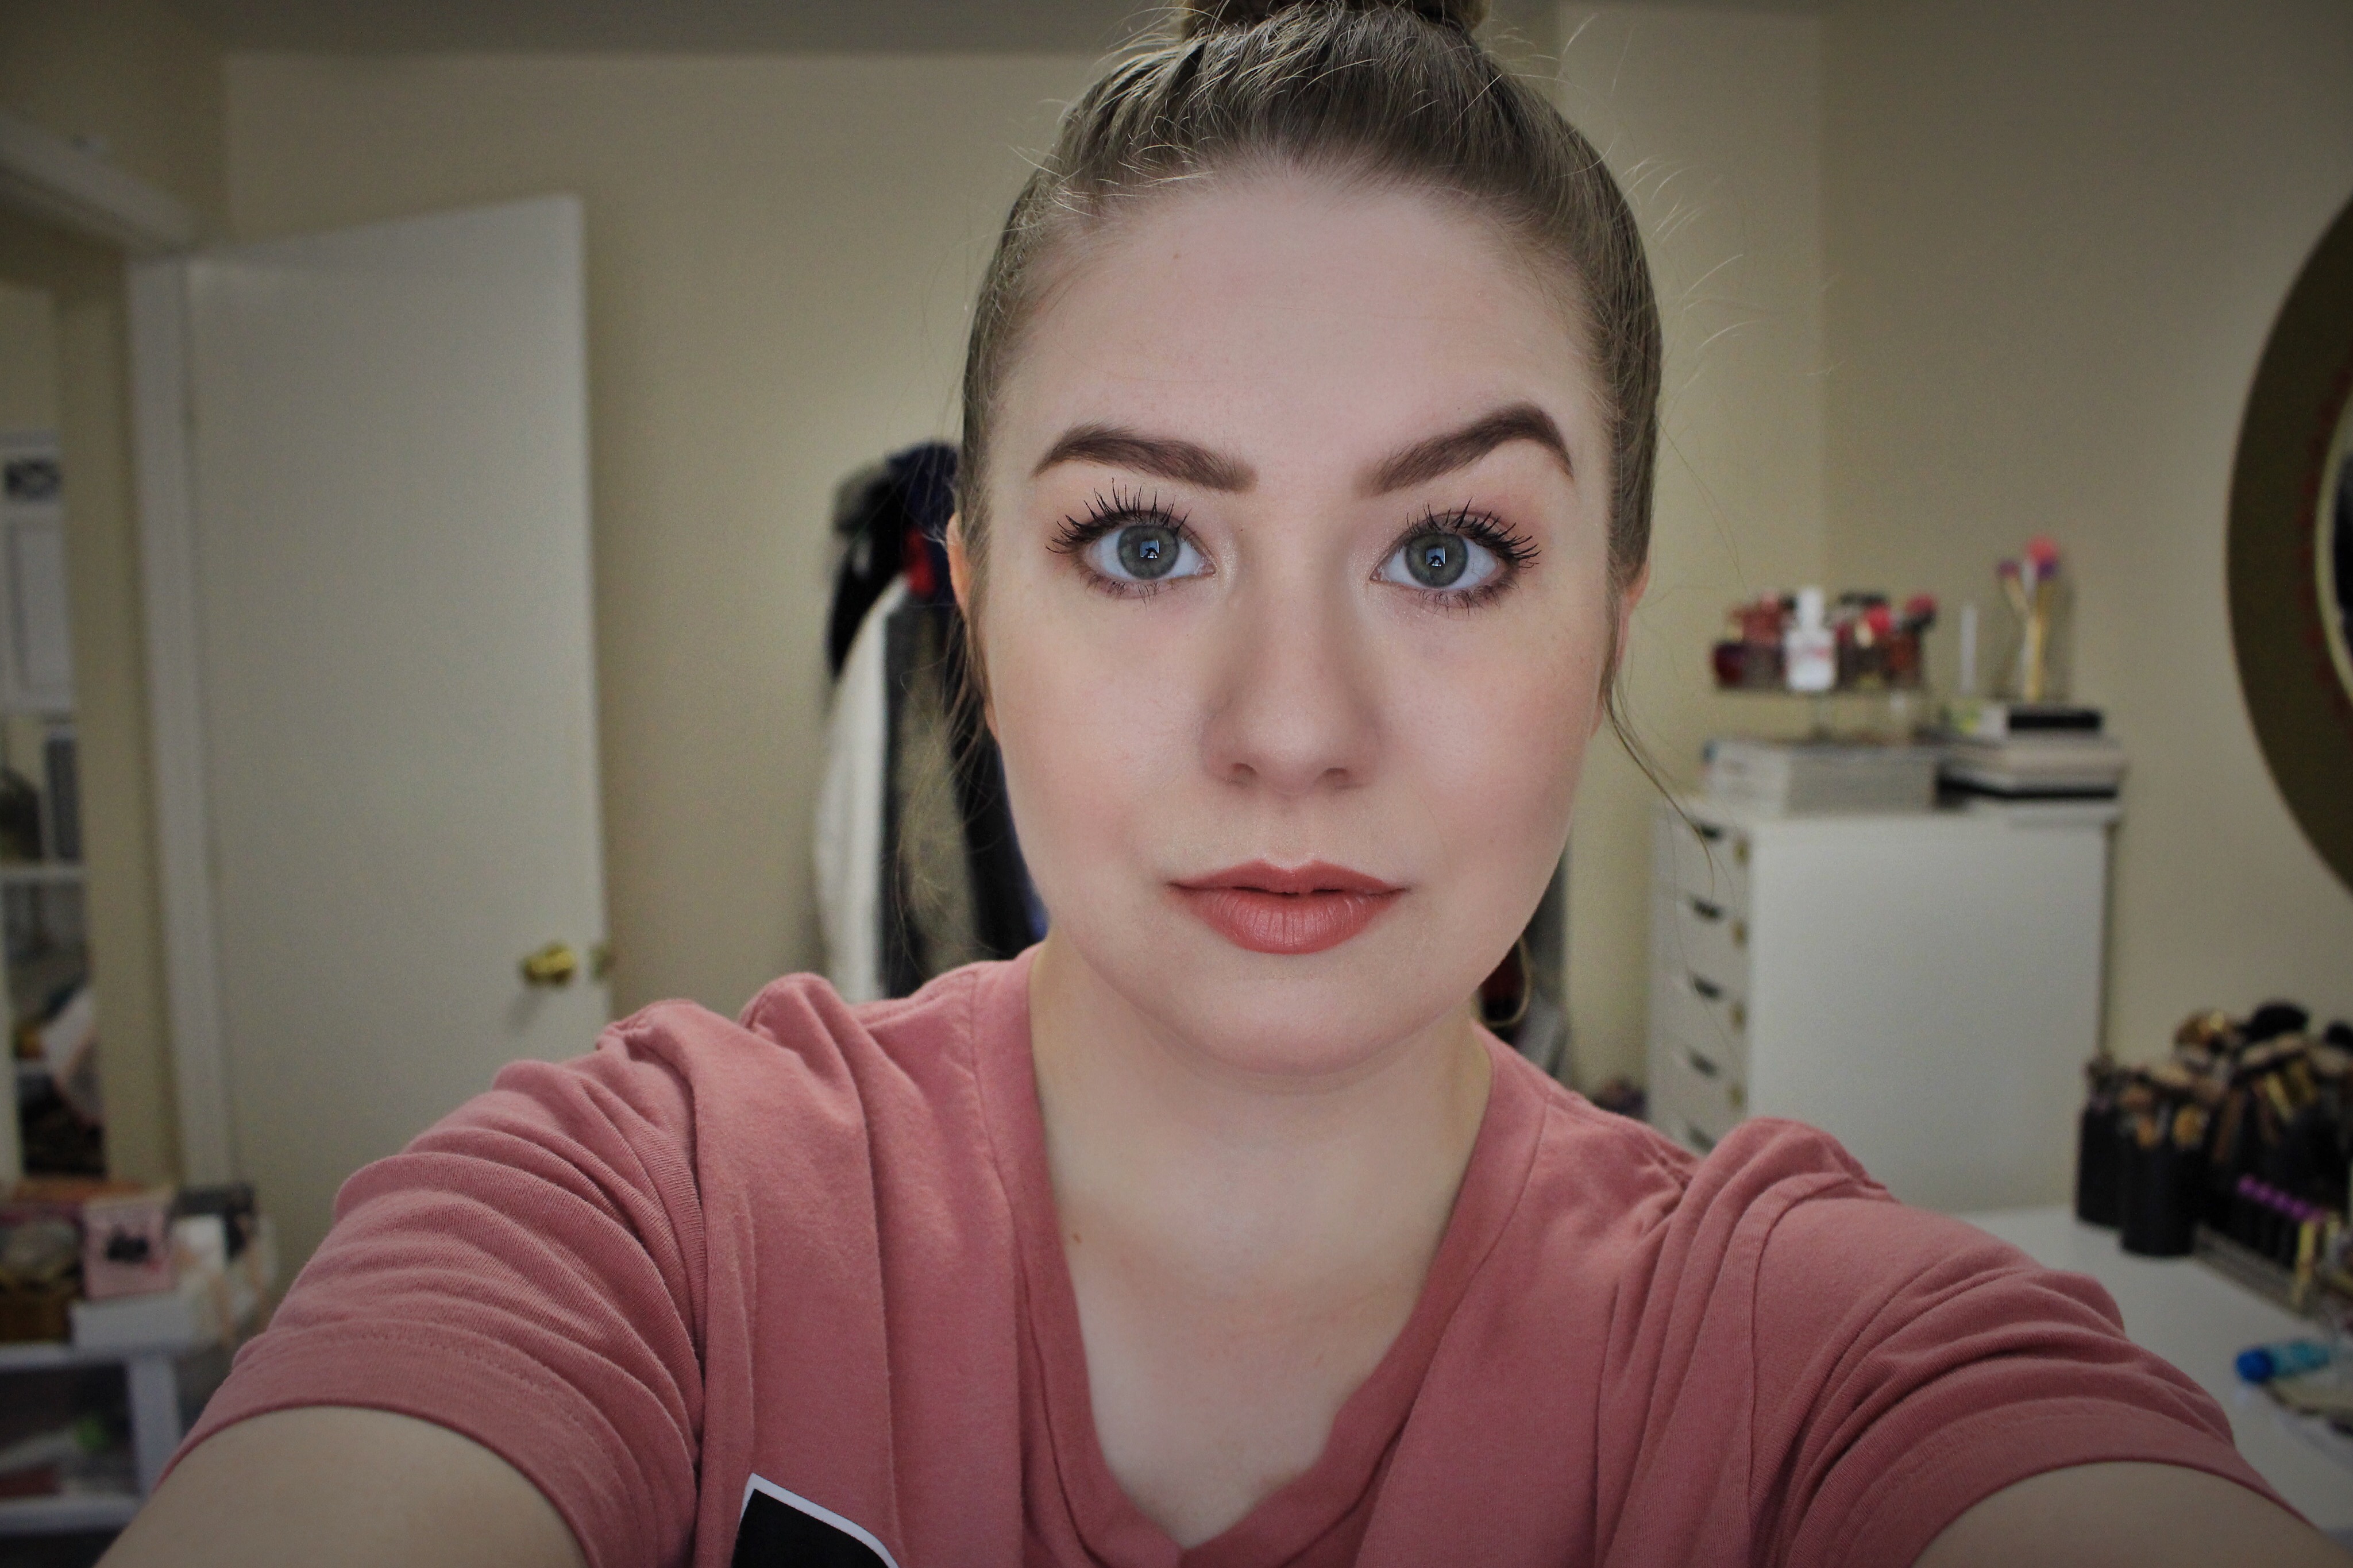 I obviously complete my morning skincare routine before this so I go into my makeup time with a clean and hydrated canvas! If you guys are interested in an updated skincare routine (it’s also fast and easy!) tell me in the comments below! I use the Make Up For Ever Step 1 Skin Equalizer Primer because #teamprimer and then I go in with foundation. A stick foundation, like the Anastasia Beverly Hills one I use, will seriously cut this step’s time in HALF! Just apply a few streaks on the cheeks, forehead, and chin (less is always more) and blend! I use a large oval brush to blend it in and it takes me less than a minute. The consistency of stick foundations is obviously creamier and less runny because it’s in a solid form, which gives you more control over the placement and blending. Then I go in with an undereye concealer (love this one from L.A. Girls! So inexpensive!) and a spot concealer to eliminate any redness, dark circles or blemishes. I use a brush to apply and pat gently and quickly with my finger to blend it in. I set my foundation and concealer with translucent powder so it stays in place throughout the day and end my face look with some color! I swipe bronzer (with a very light hand) over my cheeks, sides of my forehead and chin. Then I lightly pat blush onto the apples of my cheeks and then add a hint of highlighter to the top of my cheekbones and my cupid’s bow. Face is done!
THE EYES & BROWS
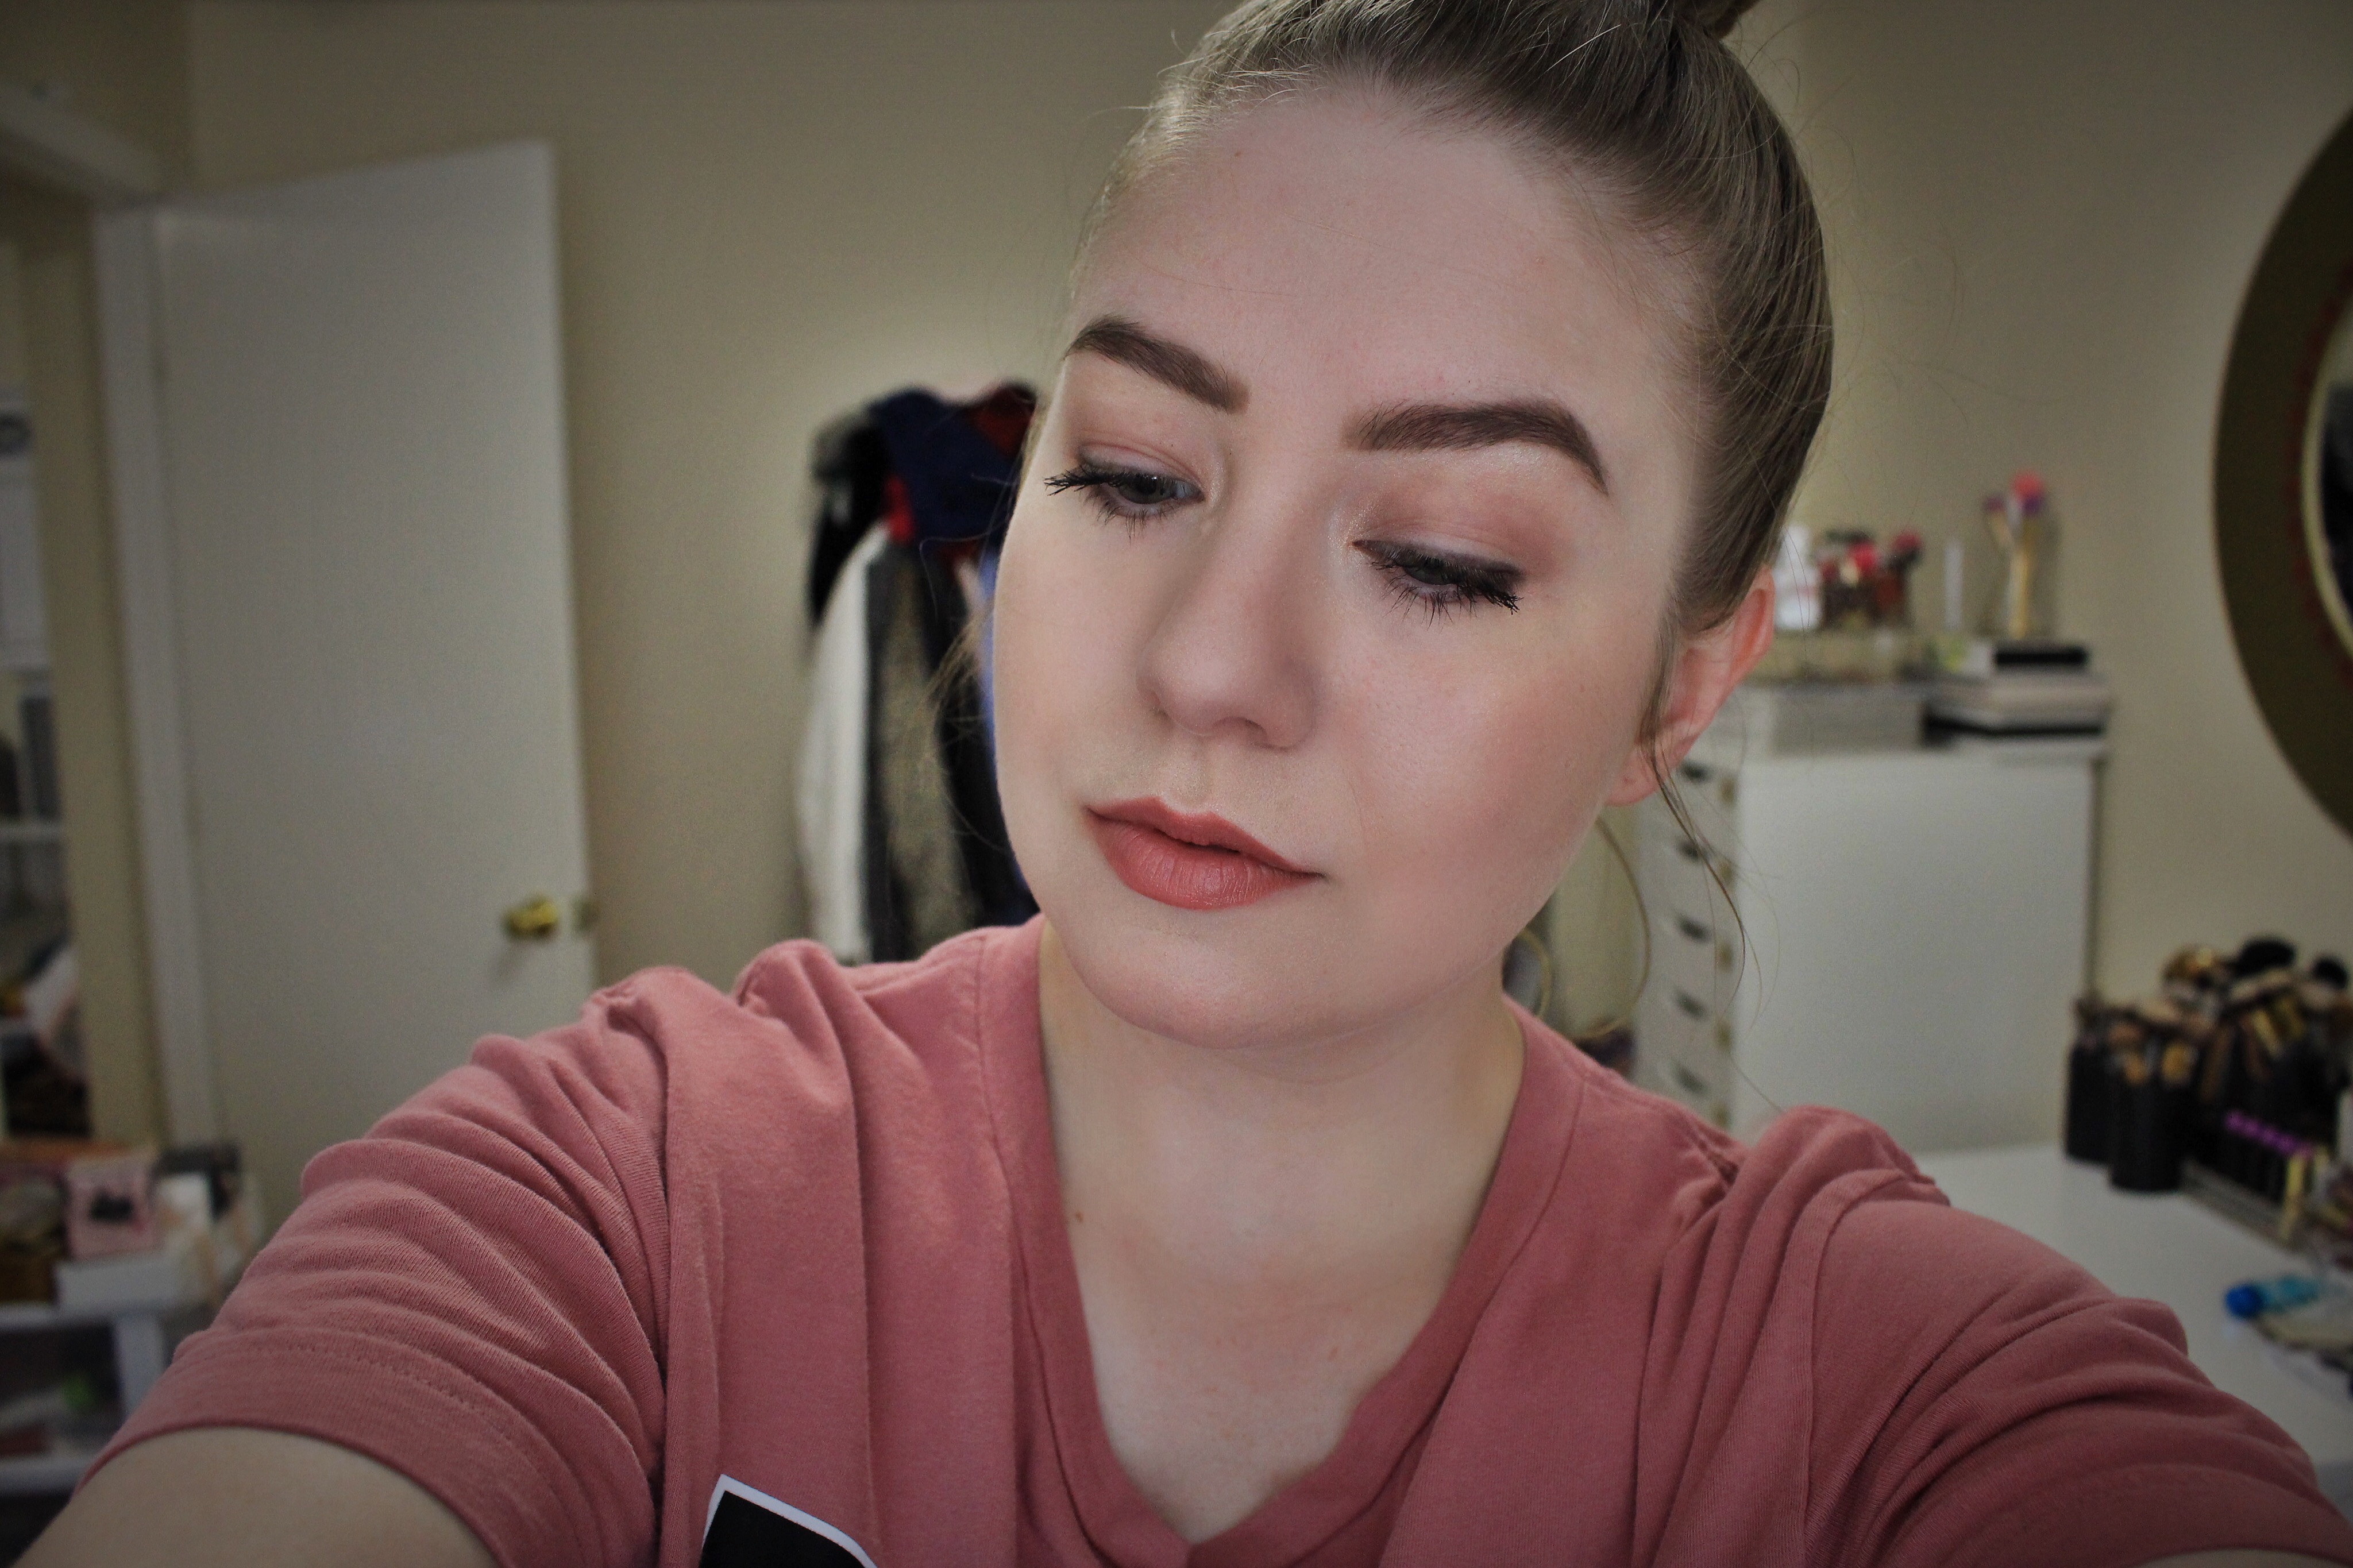
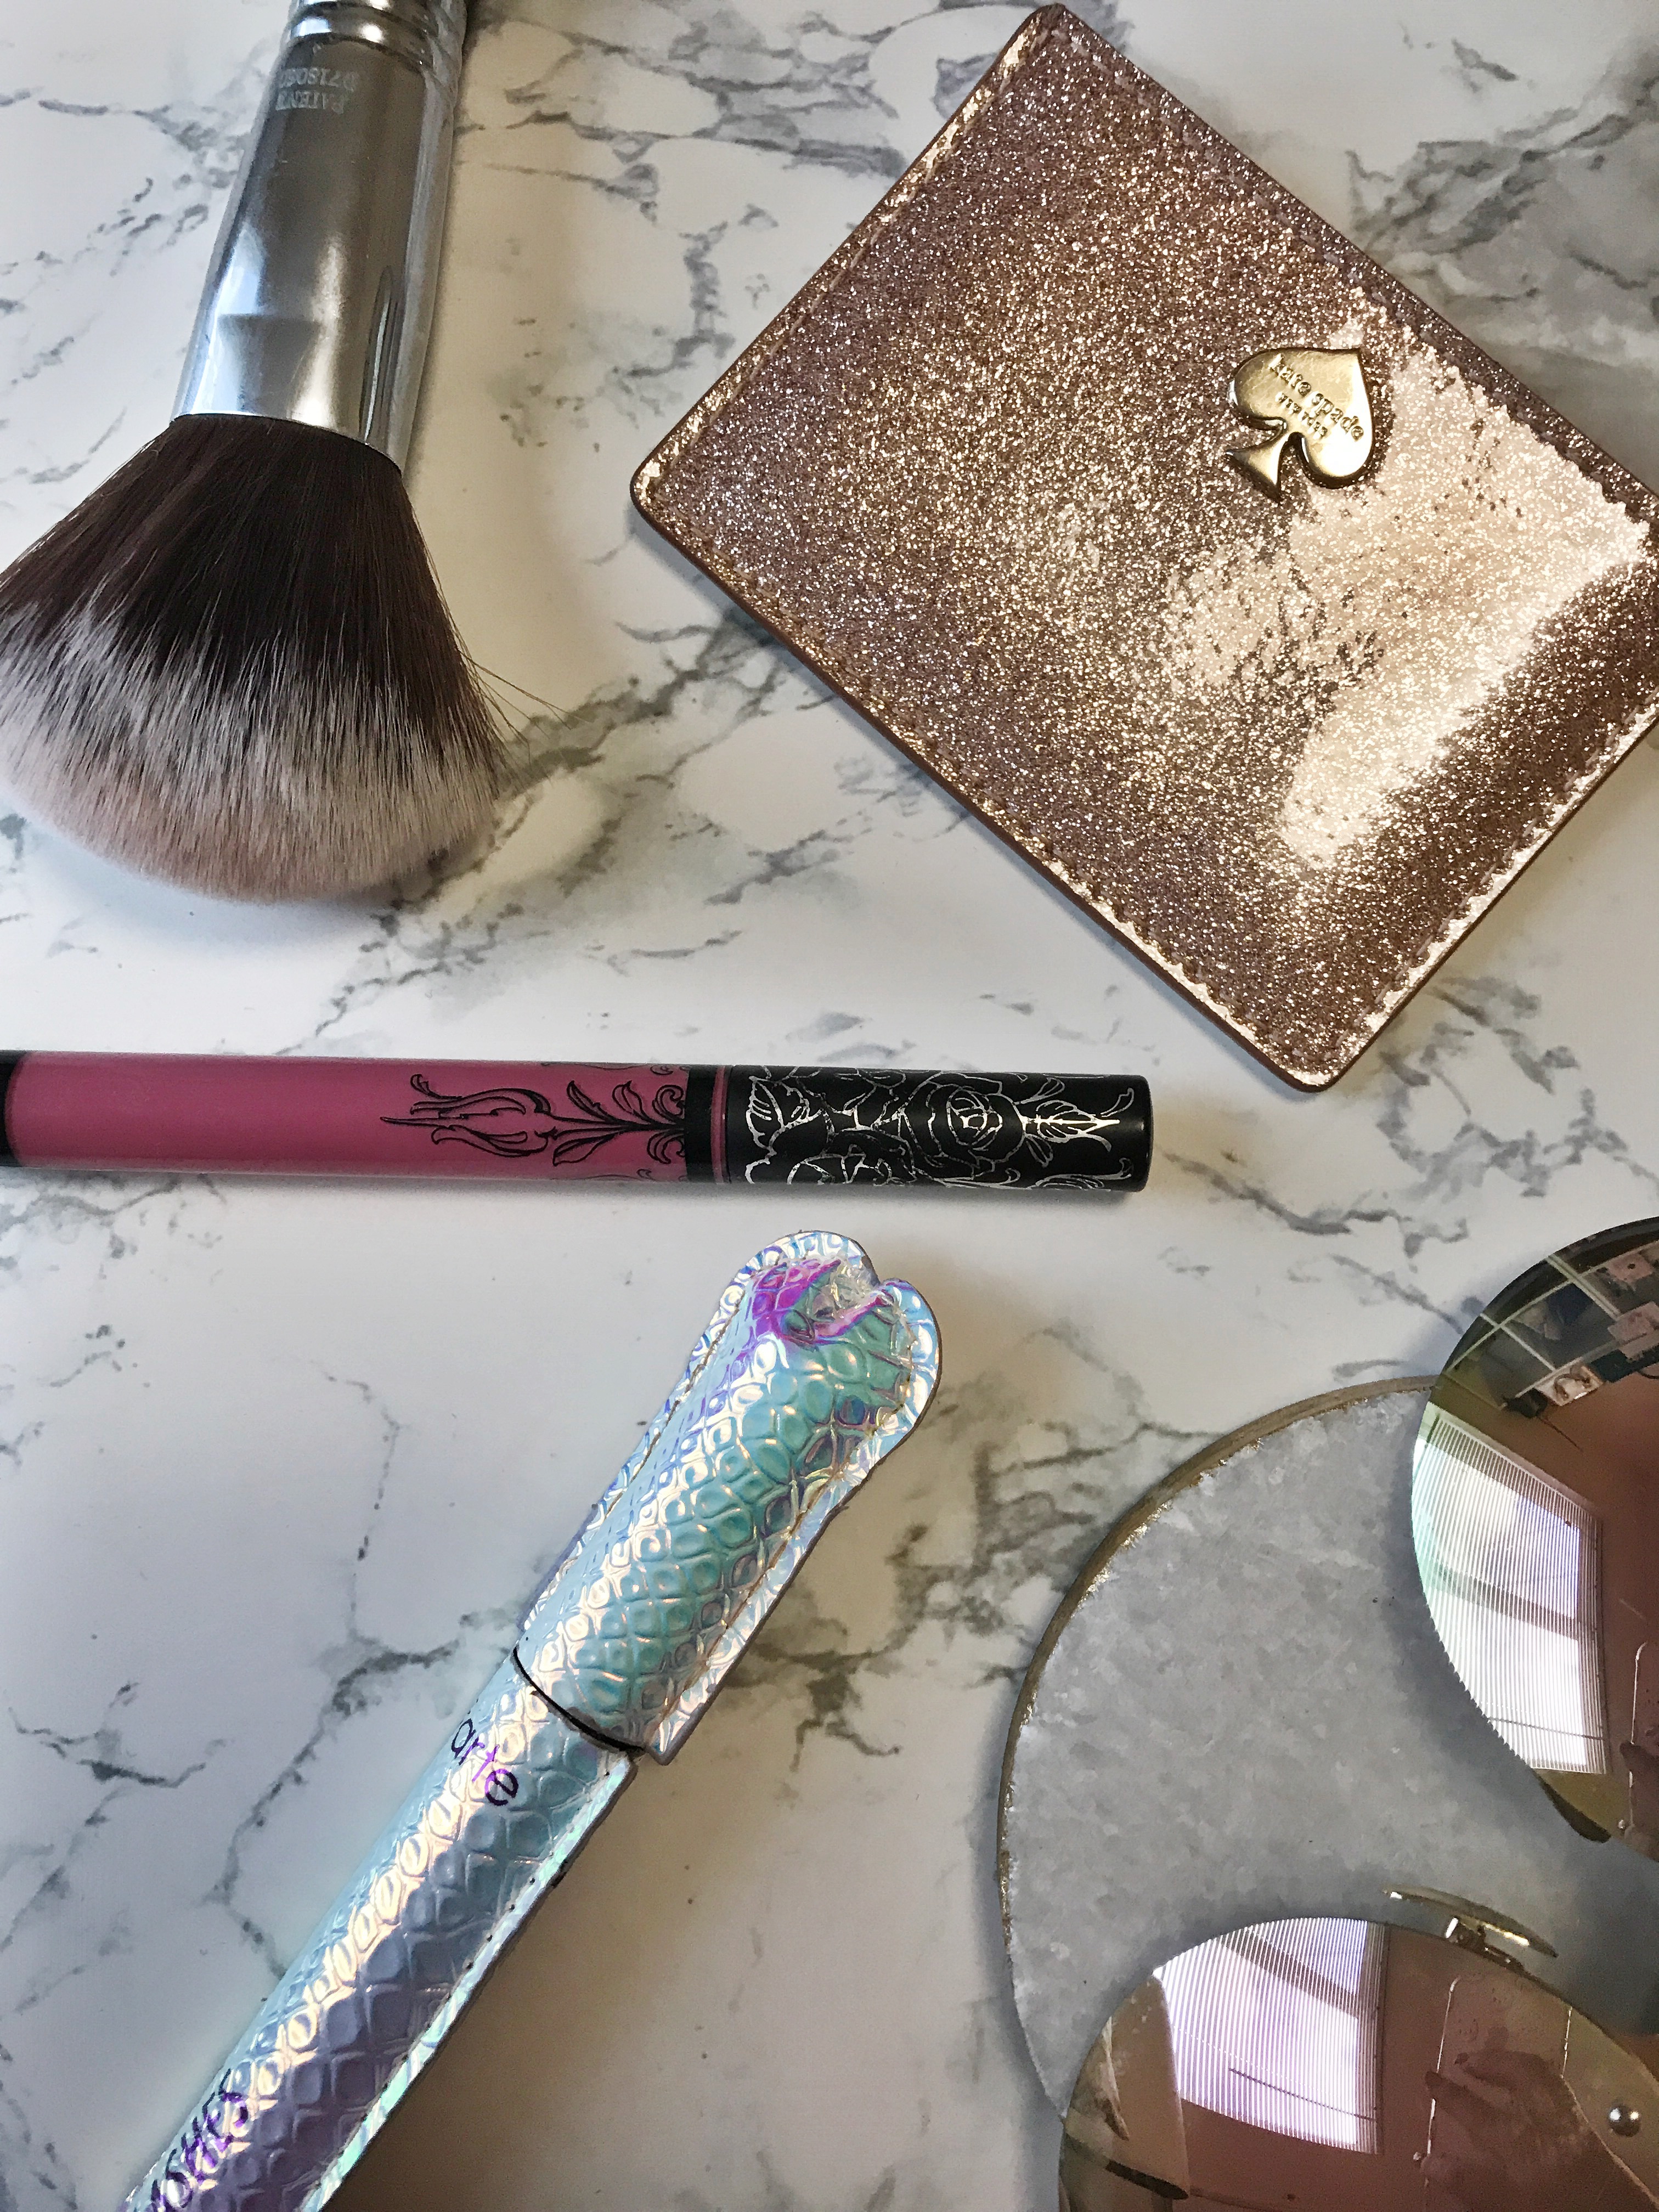
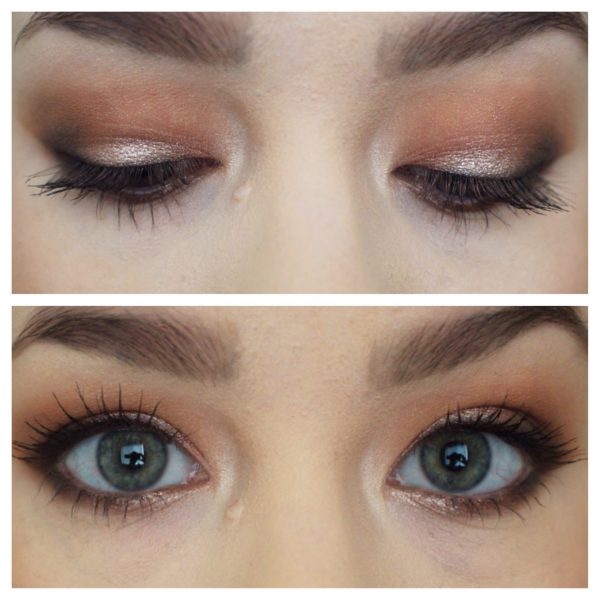
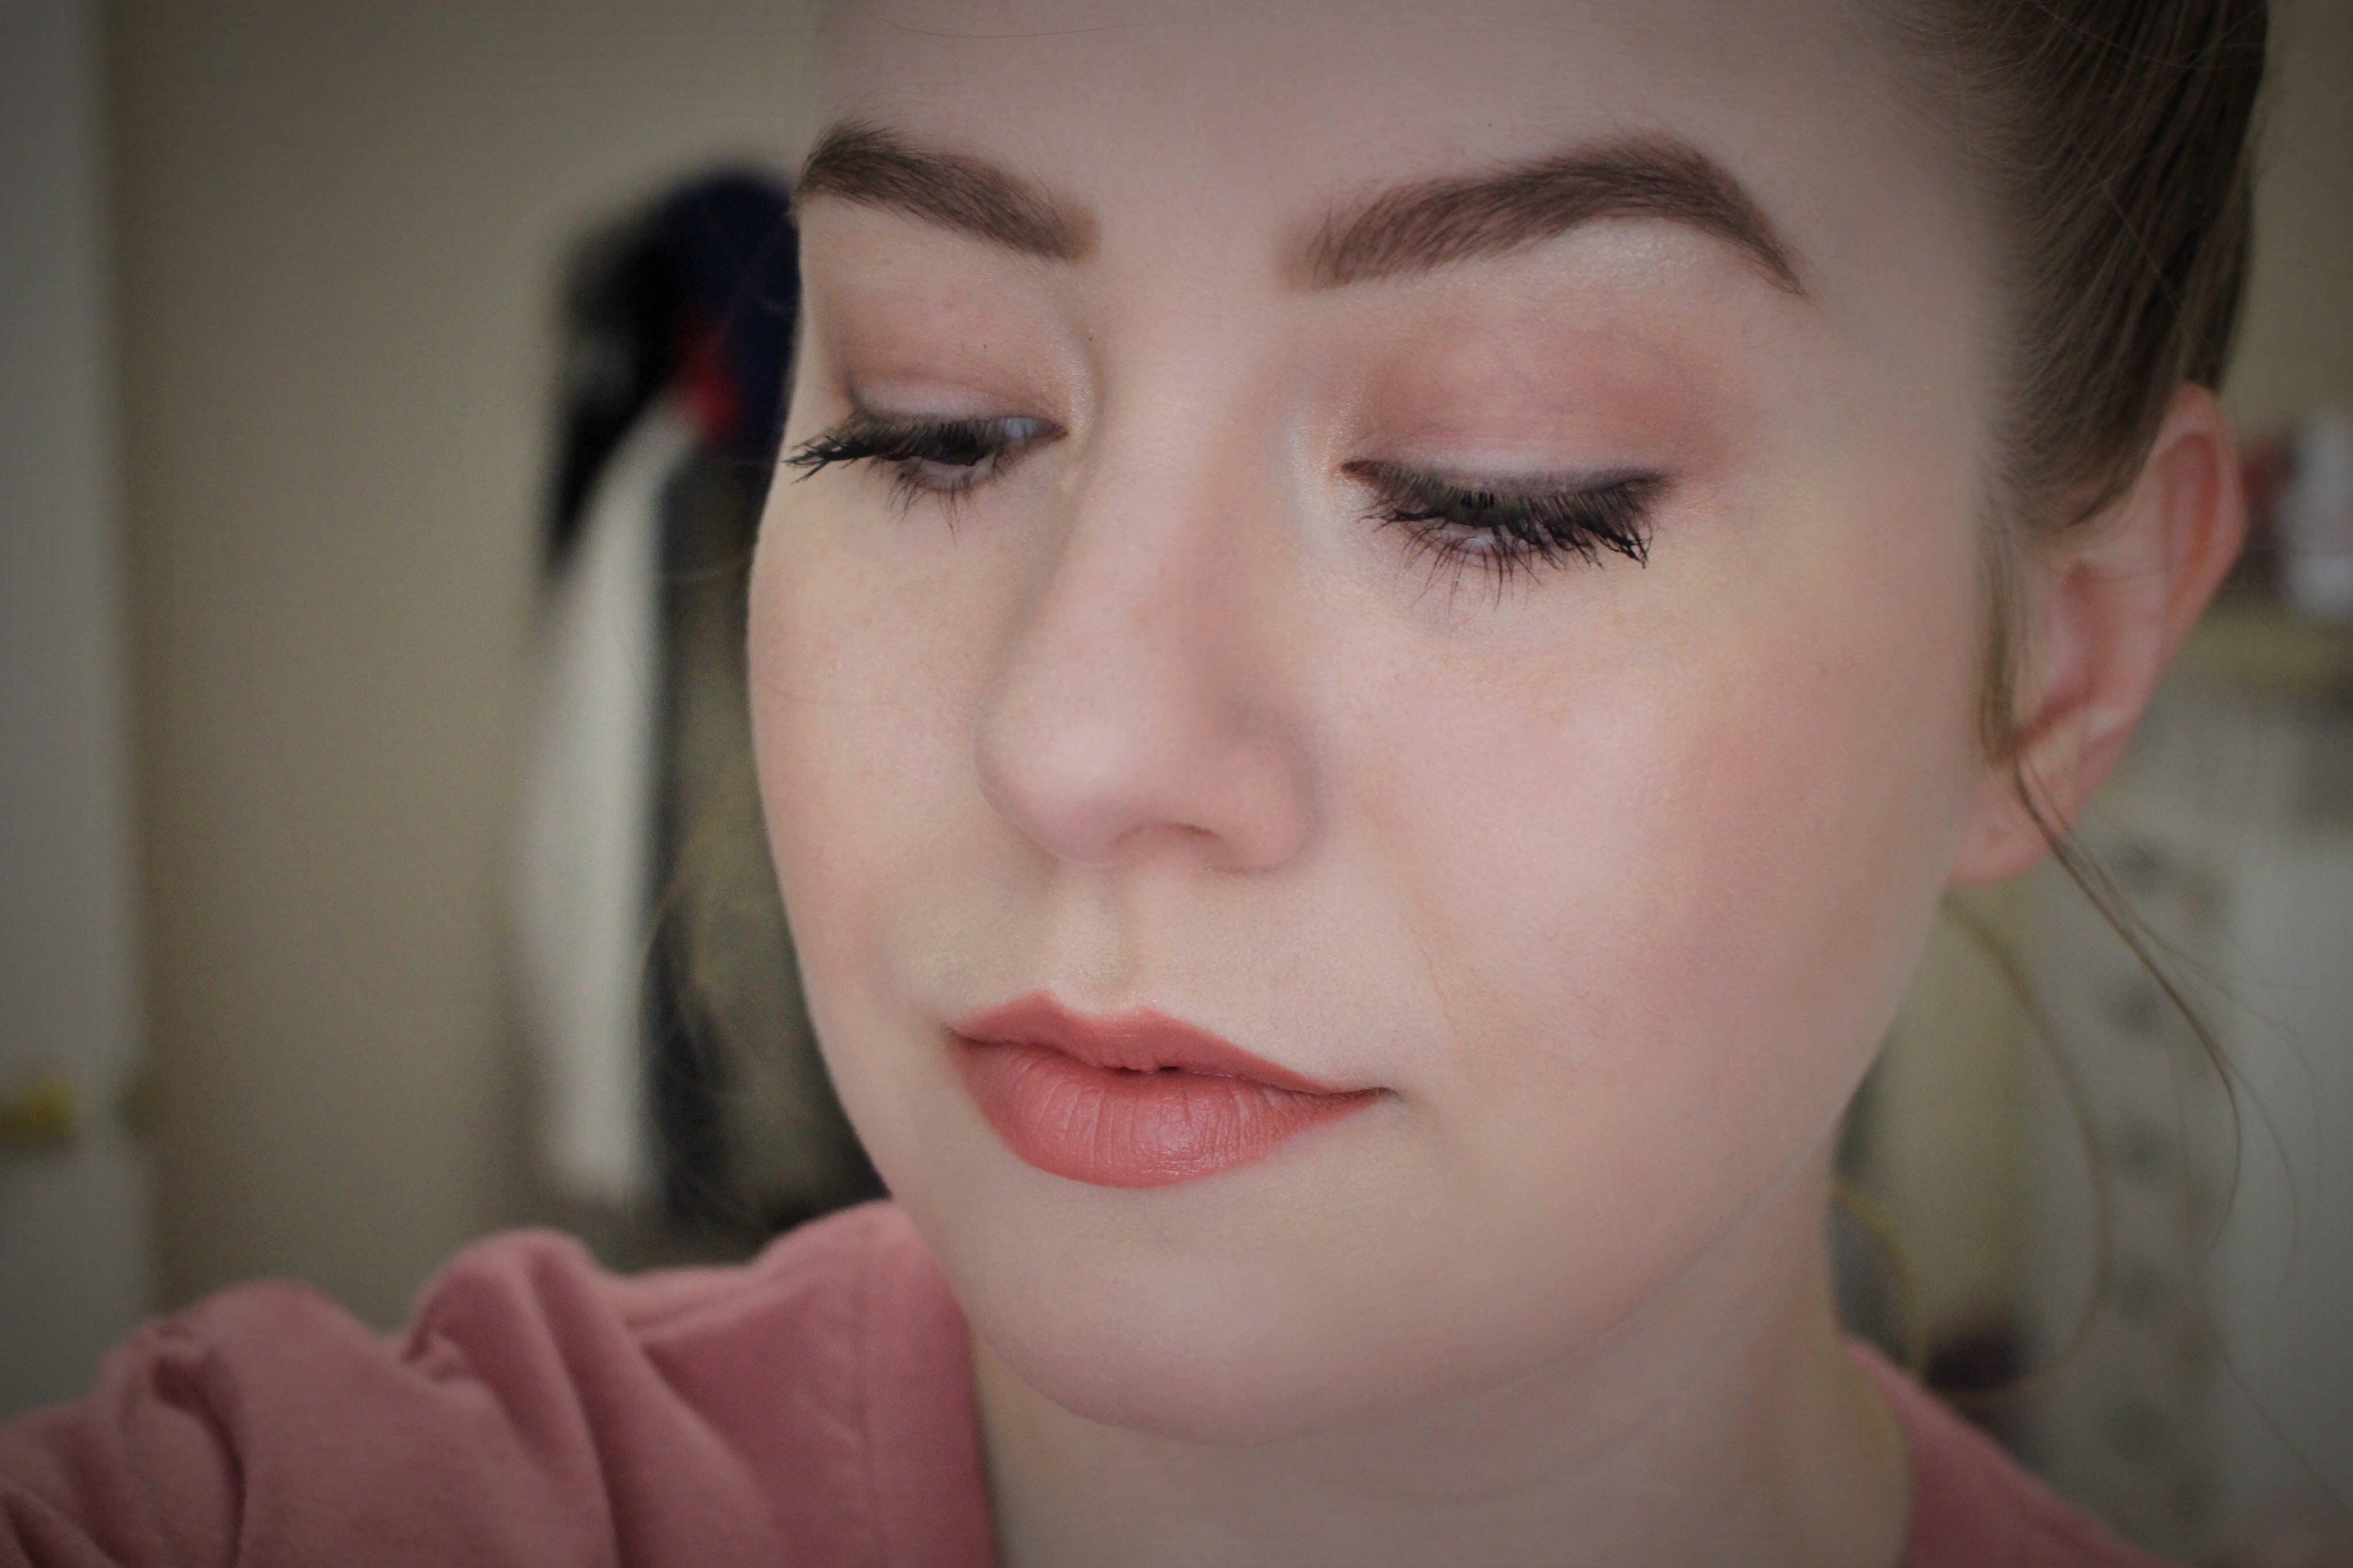 I keep the eyes extremely simple and just use two shadows. Three if you count using my highlighter again for the inner corner of the eyes and brow bone! After applying an eyeshadow primer I take a fluffy blending brush and dip it into a neutral transition shade (my go-to is MAC’s “haux”. Great name and love the taupey shade with my green eyes). I use a windshield wiper motion and lightly press the brush into my crease/eye socket and don’t stop until I’m blended. Then I take an angled pencil brush and use a dark brown or black shade to outline my lower and upper lash lines. I blend the lower lash line out with some of the taupe color I used in my crease. Then I add a highlight like I mentioned above and I’m done! Obviously, the finishing touch to any eye look is a killer mascara like this Tarte one I LOVE. I get tons of compliments on my lashes and its definitely thanks to my mascara (and my mama!). I don’t cut corners on my brows because they are, in my opinion, the most important part of the face. I’ve been using Anastasia Beverly Hill’s brow pencil and powder but I typically use (and love) her brow wiz. I use a concealer brush and concealer to clean up the shape afterward and set the finished product with clear brow gel. Eyes, check! Brows, check!
THE LIPS
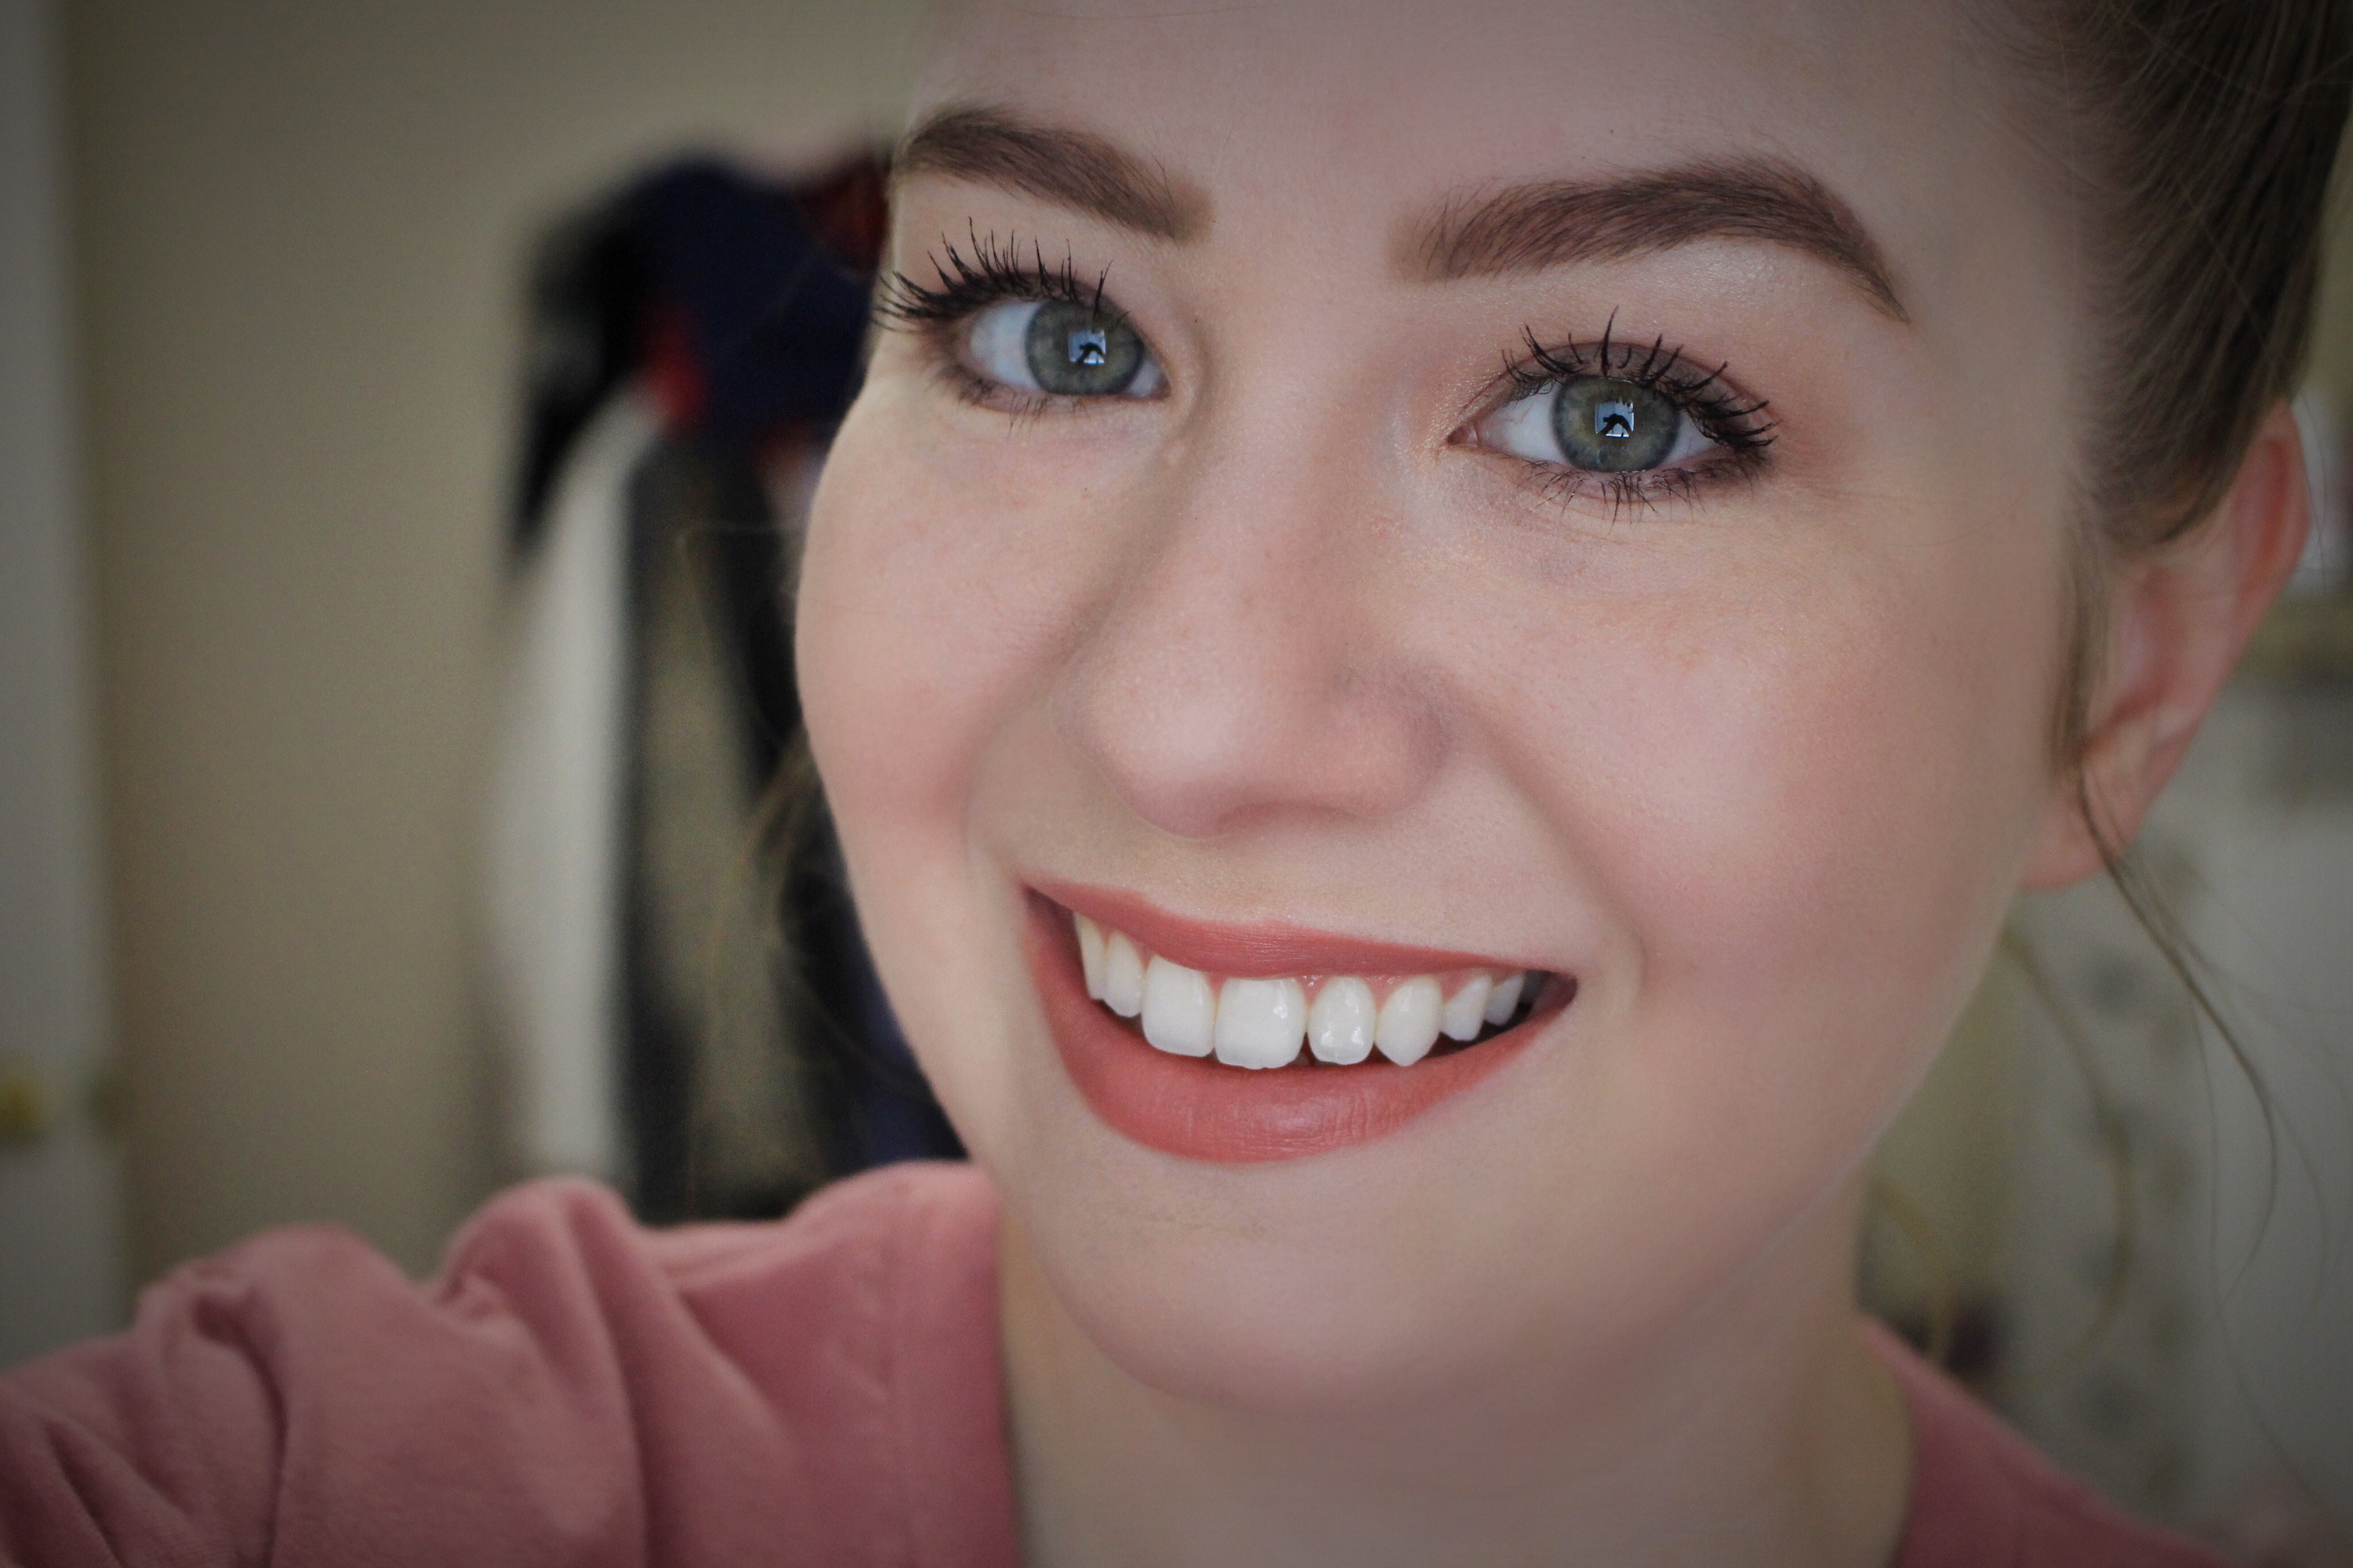 Obviously, this is the easiest and shortest part of my routine but you can still skip it if you’re in a major hurry! It’s definitely the easiest step to complete in the car or on the train. I use a mauvey/rose-hued NYX lip liner to outline my lips and then I fill them in with that color. Sometimes I leave it and sometimes I lightly press a pink lipstick over it or glide on a gloss. If need be I’ll clean up my lip lines with concealer, but if I’m careful that’s usually not necessary. And I’m done! I LOVE mauve/rose lip colors so find your favorite neutral lip (or not so neutral if you prefer!) and use that as your go-to. I always love this color so it’s a sure thing when I’m rushing to get ready and make it out the door.
  I’m going to see if I have time to fill my 10-minute makeup look this weekend so I can update this post with it! Stay tuned and tell me what your go-to makeup products are in the comments below! Xo, She

